

Have you ever arrived at a familiar spot and found it completely transformed by fog? The same road, lake or stand of trees suddenly feels quieter, stranger and far more cinematic. That is the magic of mist: it hides just enough detail to make a scene feel mysterious, while leaving you with shapes, light and mood to play with. The trick is knowing how to work with that softness instead of fighting it.

Start with the right conditions
If you want fog, it pays to become a bit of a weather watcher. Early morning through to sunrise is usually your best window, though evening fog can appear when warm, moist air meets cooler surroundings. Keep an eye out for calm conditions, high humidity and places where moisture gathers—rivers, lakes, valleys, wetlands and low-lying fields are all good options. If there is water nearby and the air has cooled overnight, it is worth setting the alarm.
Use fog as a natural softbox
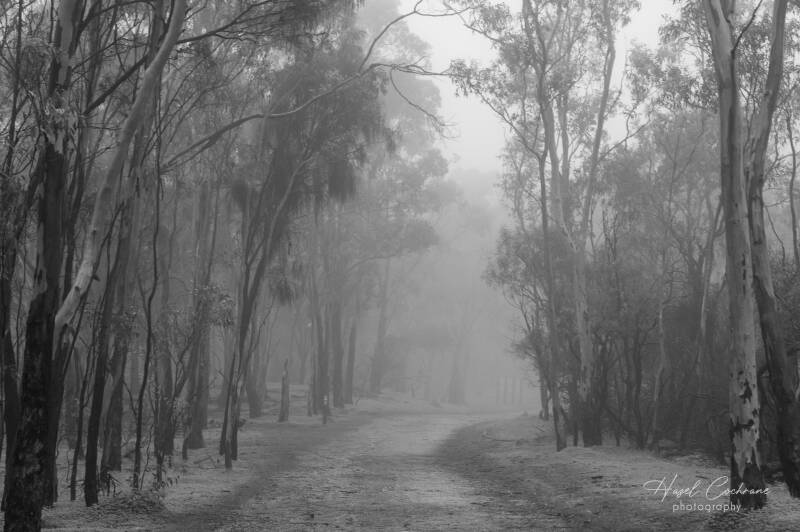
One of the nicest things about fog is that it does some of the hard lighting work for you. It spreads the light out, softens shadows and gives the whole scene a gentle glow. That makes it perfect for forest paths, lone trees, still water, streetlights and backlit subjects. Instead of trying to add contrast everywhere, let the softness do its thing. Simplify the frame, look for clean shapes and let the mist carry the mood.

Build depth with layers
Fog is brilliant for creating depth, especially when you include several layers in the frame. Things close to you will hold more contrast and colour, while anything farther away starts to fade into pale silhouettes. Try using a gate, fence, tree trunk, road or shoreline in the foreground, then let the background slowly disappear into the mist. It is an easy way to make a simple scene feel more spacious and atmospheric.
Position yourself for visible light rays
Those dreamy shafts of light you see in foggy photos do not happen by accident. They usually appear when sunlight, streetlights or headlights pass through the mist at the right angle. Move around and watch what happens as the light source shifts in relation to your camera. Often, the beams look strongest when the light is just outside the frame or slightly off to the side, rather than pointing straight at you.
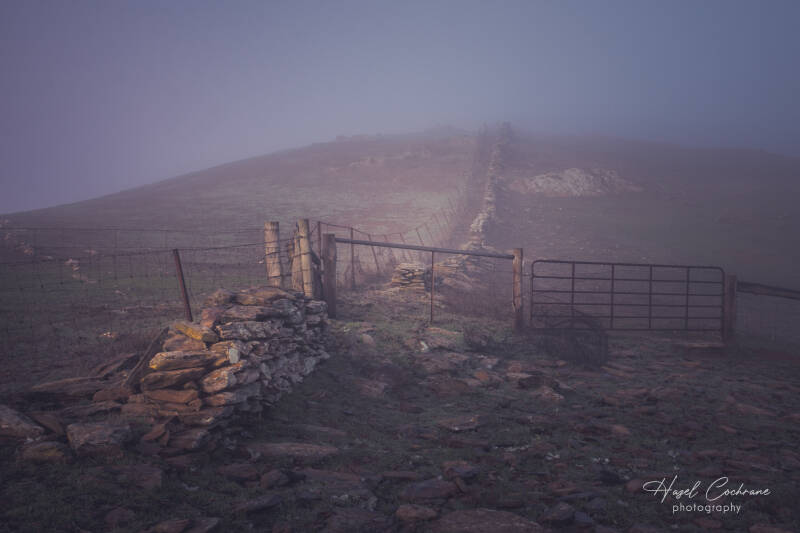
Look for shapes and silhouettes
Because fog strips away a lot of texture and detail, strong outlines suddenly matter much more. Lone trees, walkers, animals, gates, boats and buildings can all become beautiful silhouettes. If you want that clean, graphic look, expose for the fog or the brighter background rather than the subject itself. The subject will stay dark, and the mist will keep that soft, glowing quality around it.
Choose simple compositions
Fog is great at hiding clutter, but it can also make a photo feel a bit vague if there is no obvious subject. Give the viewer something to land on. Instead of photographing an entire forest as one soft mass, move until the trees separate into layers. In the mountains, try shooting from above or across the mist rather than from inside the thickest part of it. A simple anchor point can make the whole image feel more intentional.
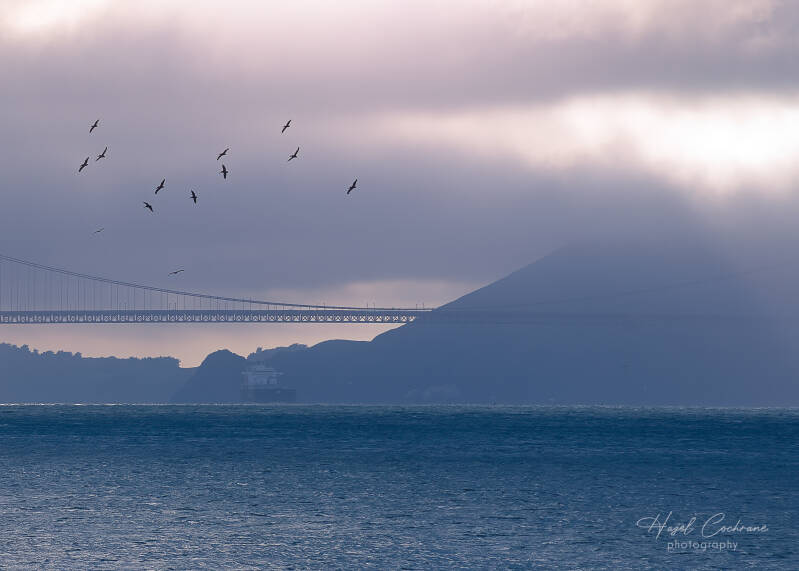
Control exposure and focus
Fog can fool your camera a little because there is not much contrast for the light meter or autofocus to grab onto. Check your histogram, and do not be afraid to use exposure compensation if the image looks dull or muddy. In low light, a tripod can save the shot, and manual focus or a single autofocus point on a high-contrast edge can stop the camera from hunting. Also, keep a lens cloth close. Mist has a sneaky way of settling on the front of your lens.
Finish with mood, not perfection
With fog, the goal is not always a razor-sharp, brightly coloured image. Often, the best photos are the ones that feel quiet, mysterious or slightly dreamlike. Let the weather lead a little. Wait as the mist shifts, watch for shapes to appear and disappear, and be ready to recompose quickly. Fog does not usually last long, but that is part of what makes it so rewarding to photograph.

Quick takeaway: Get there early, keep your compositions simple, use layers for depth, move around for better light rays, and expose for the atmosphere you want—not just the subject in front of you.
Practical tips to try on your next foggy shoot
- Arrive early and scout slowly: Fog changes quickly, so give yourself time to walk around and watch how the scene opens and closes.
- Use a tripod in dim light: Early morning fog often means slower shutter speeds, especially before sunrise.
- Try exposure compensation: If the fog looks grey and flat, add a little positive exposure compensation; if highlights are blowing out, pull it back.
- Focus on contrast: Aim your focus point at an edge, tree trunk, fence post or another defined shape so the camera has something to lock onto.
- Protect your gear: Keep a microfibre cloth handy, wipe moisture from the lens gently, and let your camera dry out properly afterwards.
- Shoot both wide and tight: Capture the whole atmosphere with wide shots, then look for small details like branches, reflections, footprints or silhouettes.
- Wait for movement: A person walking through mist, a bird crossing the frame or headlights cutting through fog can add life and scale.
- Review as you go: Fog can make images look flatter than expected, so check your shots and adjust exposure, framing and contrast while you are still on location.
Ready to bring foggy landscapes into your own home or learn how to capture them yourself?
Browse available image prints for purchase, or get in touch to enquire about an upcoming photography class tailored to help you build confidence in the field.
Add comment
Comments